How to Claim a Business
- Using the search option in the top right hand corner of the app, simply search for your business using our drop down box or keyword option.
- Select your business. If you do not see your business, select “ADD BUSINESS” at the bottom of the page.
- If your business shows in our Database select “CLAIM THIS BUSINESS”. Don’t forget to use the referral code if someone introduced you to JoynD. Now just confirm the terms and “SIGN ME UP”, enter the OWNER of the businesses name and select “OK”
- Make sure the location is correct. You can use the map or just enter the physical address. Check the phone number to make sure it is accurate. If you have a website, awesome, if not just put NA.


- 5. Business headline or slogan: This is your businesses mantra. “Friendliest Staff and coldest drinks in Town” or “We are like bacon, we make everything better”.
- 6. Description is very important. These are your keyword searchable words. (Write it out in your notes first, then copy and paste) Talk about your business and what all you have to offer. Specials, Cake, Dresses and Tuxedos, Free WIFI, Daily Drink Specials, Live Music, Karaoke, the list goes on and on.
- 7. Banner Page Images and Videos: This is where you showcase how wonderful your space is. Add YOUR Images of the business and even give users a Virtual Tour or the business.
- 8. Featured Images and Videos: Promote Staff, Show Off Pictures of Popular Dishes and Drinks, Products and Past Projects. This is where you can show users visual aspects of your business.
- 9. Do you need a calendar? If so, just turn that function on with the toggle. Select NEXT in the top right.
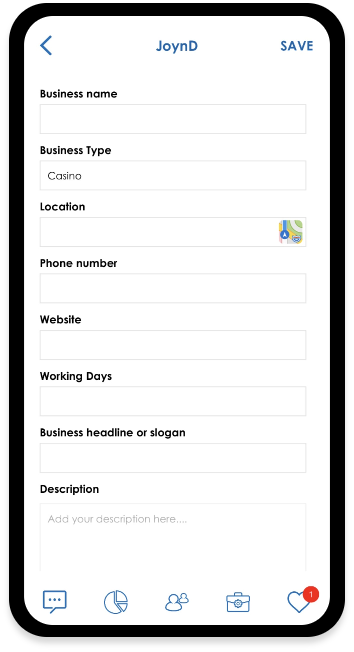
- 10. Time to double check that location and expand your area to GET SOCIAL based on the size of your space.
- 11. Enter your Payment information and select done.
- 12. Now you have successfully claimed a business on JoynD and can start building your customer base.
Editing business info/Adding administrator/Creating events
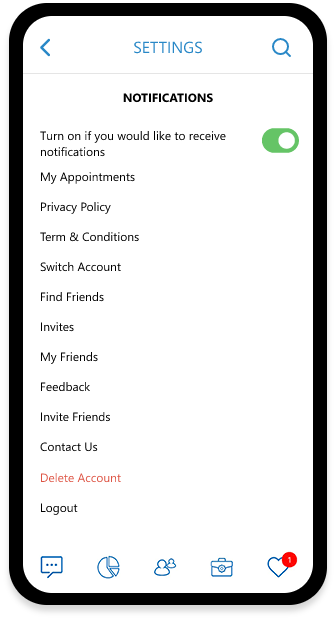
- 1. First things first. Select the JoynD logo in the top left corner. (Don’t see it? Touch any icon on the bottom of the app) Now select the 3 dots and go to “SETTINGS”. Find SWITCH ACCOUNTS. Select the account you wish to make changes to. You will notice the briefcase on the bottom of the app is now highlighted. This is where you will go to make changes in the future.
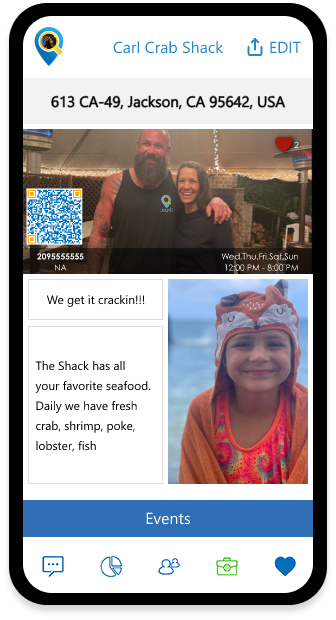
- 2. Let’s edit. Select the EDIT option in the top right. Now you can add, modify, delete, update and for mobile businesses, change location in an instant. When done select NEXT and choose if you would like to send a notification about your changes. Just remember EVERYONE is going to get to see what awesome new aspect, image or video you updated. Not everyone needs to know about fixing a spelling or punctuation error.
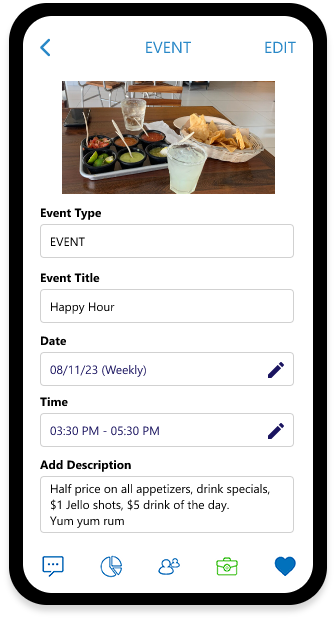
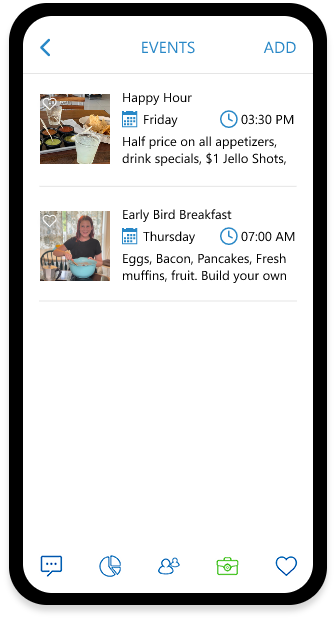
- 3. Let create an event. Select edit in top right again and scroll down to events list. Top right “ADD”. Now you get to let consumers know what you have going on Daily, Weekly or Monthly. Set it and forget it with the recurring multi day option. Happy hour Tuesday, Wednesday Sunday 5pm-7pm, Corn Beef Special Thursdays, 50% off items Sundays. Don’t forget those KEYWORDS that describe the event. Now Submit and let users know what is going on.
- 4. Need a little help keeping up with content? Let’s add an ADMINISTRATOR. Select edit in the top right and scroll down to ADMINISTRATOR. Select ADD and fill in the information. Once the Admin has accepted, they will have full access to edit but will not have the access to DELETE the account. You may remove the admin at any time.
- 5. Do you have a Calendar? Let’s add an available APPOINTMENT. Make sure you are in the correct account by switching accounts in the settings if needed. Click edit in the top right and scroll to CALENDARS. (If you do not see calendars, go back to edit the main page, scroll to the bottom and toggle on CALENDARS ) Select CALENDARS and ADD in the top right. Choose an image, name and unique description. Remember you might need more than 1 Calendar. Once you have added the Calendar, choose the Calendar you want to add availability to and “ADD AVAILABILIITY”.
- Choose your date, choose your time frame, add notes to the time slot, and add another time slot by simply pressing the + before saving or take an appointment away by pressing -. Users booking these time slots will see your notes for that availability. Once you have created the time slots you wish to make available, you will get an email along with a text and notification in app with bookings. You will also see any notes customers may have written for better communication. You also have the ability to see upcoming/past appointments and see any note associated with the appointment.
Now you are set for success. Enjoy JoynD and please feel free to reach out with any questions, comments or ways we can make JoynD work better for you at joynd@joyndapp.com
Get started today.
Download JoynD for free!

